

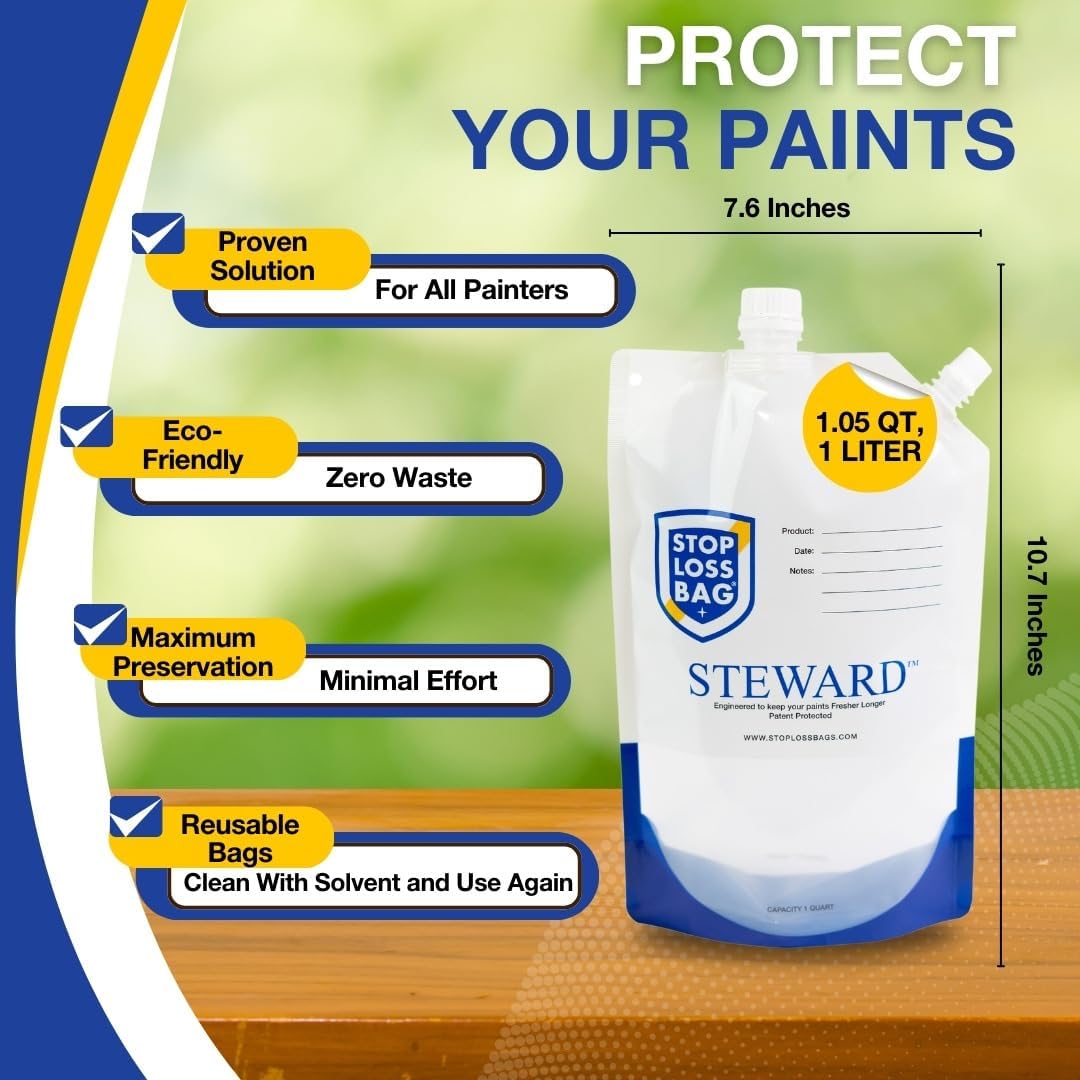
I finally got rid of all those half-empty paint cans cluttering my garage. These bags are so easy to fill, they take up hardly any space, and my leftover paint stays fresh for when I need it. Such a simple but brilliant idea.
Reusable Paint Storage Bags
Reusable Paint Storage Bags
- No more dried-up leftover paint
- Keeps paint fresh up to 4× longer
- Stops paint from drying out
- Easy to fill, label and pour
Couldn't load pickup availability

Reusable Paint Storage Bags
- Attach the Clip – Secure the included filler clip to a bench, table or other stable surface.
- Insert the Bag – Slide the paint bag into the filler clip so it stays upright while filling.
- Fill the Bag – Place the funnel into the opening and slowly pour in your leftover paint.
- Remove the Air – Gently squeeze out as much air as possible before sealing the bag.
- Seal & Label – Tighten the cap securely and label the bag with the paint colour, room or project.
- Store Ready for Touch-Ups – Store flat or upright in a cool, dry place until you need it again.
Important
- Always remove as much air as possible before sealing.
- Store in a cool, dry place away from direct sunlight.
- Do not allow paint to freeze while in storage.
- Clean the bag thoroughly before reusing with a different paint colour.
Fast Shipping & 24/7 Support
Once you place your order, our team will carefully pack and ship it within 1-2 business days (excluding weekends). You’ll receive a tracking notification as soon as it’s on its way!
We proudly offer fast and friendly 24/7 support from our team in the USA. If you have any questions, just reach out—we’re always happy to help!
Estimated Delivery Times:
| Region | Delivery Time |
|---|---|
| USA | 5-9 Days |
| Canada, Australia | 6-11 Days |
| New Zealand, UK | 7-11 Days |
| Rest of World | 8-13 Days |
Results from Our Customers


Restore Scratched Stainless Steel in Minutes
Scratched stainless steel instantly makes appliances look old, worn, and damaged. Most people assume replacement is the only option, and that mistake can cost hundreds or even thousands.
Our restoration kit fixes the problem by re-blending the stainless steel grain, removing visible scratches and bringing surfaces back to a clean, like-new look in minutes.
Save Hundreds by Restoring, Not Replacing
Replacing scratched stainless steel panels or appliances is expensive, time-consuming, and often unnecessary. Many customers use this kit as a last resort before calling a technician — and end up avoiding the cost altogether. With a bit of patience, it delivers results that make replacement hard to justify.
FAQ
Each kit includes everything you need to restore scratched non-coated stainless steel:
- Grey finishing pad
- Red pad (medium)
- Coarse pad (for deeper scratches)
- Polishing compound (restoration liquid)
- Microfiber cloth
IMPORTANT: You must confirm your surface is non-coated brushed or satin stainless steel and always work with the grain. You must also do a small test spot in a hidden area before restoring any visible section.
Yes — in many cases. Light scratches often improve fast, while deeper scratches can take more time and may still be faintly visible. For best results, work through the pad steps as directed and always finish by blending with the finer pad.
No. If your appliance is labeled fingerprint resistant, smudge proof, or has a coating, this kit will not work. It’s designed for non-coated brushed or satin stainless steel only.
Always test on a small, hidden spot first to confirm compatibility before restoring a visible area.
Yes. Always work with the grain in long, straight strokes. Working across the grain can make marks more noticeable and reduce your results.
It’s designed for non-coated brushed/satin stainless steel surfaces like refrigerators, dishwashers, ovens, cooktops, range hoods, sinks, grills, and more.
No. This kit is not for black stainless or mirror/polished finishes. It’s made for brushed or satin stainless steel only.
Not always. Many appliance handles are not genuine stainless steel or are coated. Test first and only proceed if the surface is confirmed compatible.
Most customers can treat roughly 20–25 light scratches, depending on scratch depth and the size of the area being restored.